Have you ever looked at a movie scene and wondered how they created that magical, glowing light effect? That beautiful burst of light that makes everything look dreamy and cinematic?
Well, you’re looking at lens flare – and now you can create it yourself with digital tools. Photography has always been about capturing light, but sometimes the most stunning effects happen when light behaves in unexpected ways.
Lens flare was once considered a mistake that photographers tried to avoid. Today, it’s become a powerful creative tool that can transform ordinary photos into extraordinary works of art.
Whether you’re taking pictures of people, landscapes, or events, understanding how to control and create lens flare can take your photography to the next level.
The photeeq lens flare tool gives you complete control over this effect, letting you add that professional, cinematic look to any image.
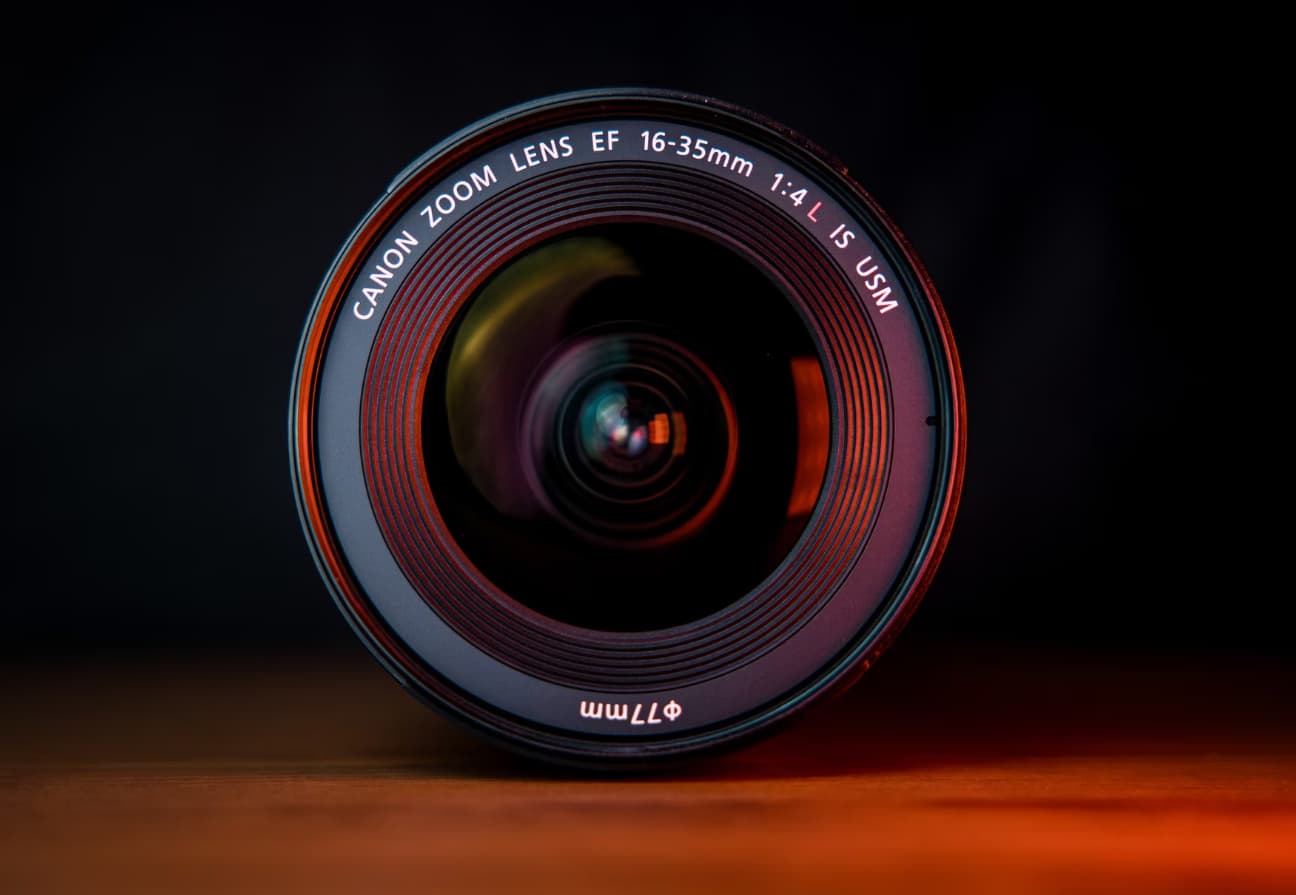
Photeeq Lens Flare
This guide will walk you through everything you need to know about using this powerful feature, from basic understanding to advanced techniques that will make your photos stand out from the crowd.
What is Photeeq Lens Flare?
Think of Photeeq lens flare as your digital magic wand for creating stunning light effects. It’s a special tool built into the Photeeq plugin that lets you add or enhance those beautiful light bursts you see in professional photos and movies.
In simple terms, this tool recreates the natural effect that happens when bright light hits your camera lens. But instead of hoping for the perfect lighting conditions, you can create this effect anytime, anywhere, on any photo.
Here’s what makes it special:
- Complete control over where the light appears
- Adjustable intensity from subtle to dramatic
- Color customization to match your photo’s mood
- Professional results without expensive equipment
The tool works by adding digital light effects that look completely natural and blend perfectly with your existing photo. It’s like having a professional lighting setup that you can adjust with just a few clicks.
| Natural Lens Flare | Digital Lens Flare |
|---|---|
| Unpredictable | Fully controllable |
| Weather dependent | Works anytime |
| Hard to repeat | Consistent results |
| Limited options | Endless possibilities |
Why Use Photeeq Lens Flare?
You might wonder why you’d want to add lens flare to your photos. The answer is simple: it creates emotion and tells a story. Here’s why photographers love using photeeq lens flare:
- Creates Movie-Like Atmosphere
Ever notice how films use light to make scenes feel warm, romantic, or dramatic? This tool gives you that same power. You can make a simple portrait look like it belongs in a Hollywood movie.
- Adds Emotional Impact
Light affects how people feel when they look at your photos. A warm, golden flare can make viewers feel happy and nostalgic. A cool, blue flare might create a futuristic or mysterious mood.
- Saves Time and Money
Instead of waiting for perfect lighting or buying expensive equipment, you can create professional effects in minutes. No more waking up at sunrise or staying out until sunset hoping for the right light.
- Gives Creative Freedom
With this tool, you’re not limited by what actually happened when you took the photo. You can experiment with different looks and styles until you find the perfect one.
Popular reasons photographers choose digital flare:
- Wedding photography – Add romance to couple portraits
- Product photography – Make items look more appealing
- Social media content – Stand out in crowded feeds
- Art projects – Express creativity without limits
Key Features of Photeeq Lens Flare
Understanding the main features helps you get the most out of this powerful tool. Each feature serves a specific purpose in creating realistic and stunning effects.
- Light Source Positioning
This is your most important control. You can place the flare anywhere in your photo – top corner, center, or even outside the frame for subtle edge lighting.
- Color Temperature Controls
Change the flare from warm golden tones to cool blue hues. This feature lets you match the flare to your photo’s existing colors or create contrast for dramatic effect.
| Color Temperature | Best For | Mood Created |
|---|---|---|
| Warm (2000K-3000K) | Sunsets, Romance | Cozy, Nostalgic |
| Neutral (4000K-5000K) | Portraits, Events | Natural, Balanced |
| Cool (6000K-8000K) | Sci-fi, Modern | Futuristic, Clean |
- Intensity and Opacity Settings
Control how strong or subtle your flare appears. High intensity creates dramatic, eye-catching effects. Low intensity adds just a hint of magic that viewers might not even notice consciously.
- Lens Simulation Profiles
Different camera lenses create different flare patterns. This feature lets you choose from:
- Vintage lenses – Warm, soft flares with character
- Modern lenses – Clean, precise light patterns
- Cinematic lenses – Professional movie-style effects
- Real-Time Preview
See your changes instantly as you make them. No more guessing what the final result will look like.
How Photeeq Lens Flare Works?
The technology behind this tool is fascinating, but you don’t need to be a computer expert to understand it. Think of it as advanced digital artistry that mimics how light behaves in real life.
- The Science Made Simple
When real light hits a camera lens, it bounces around inside, creating patterns and colors. The software studies these patterns and recreates them digitally with perfect accuracy.
- Layer-Based System
The tool builds flare effects in layers, just like painting:
- Base layer – The main light source
- Reflection layer – Internal lens reflections
- Streak layer – Light rays and beams
- Glow layer – Soft, diffused light around the source
- Smart Light Matching
The software automatically analyzes your photo to understand:
- Where light is the light coming from
- What direction do shadows fall
- How bright different areas are
- What colors are already present
This analysis ensures the flare looks natural and believable.
The process happens in three steps:
- Analysis – Software studies your photo
- Generation – Creates appropriate flare patterns
- Blending – Seamlessly combines flare with the original image
When to Use This Tool?
Knowing when to add flare is just as important as knowing how. The right timing can turn a good photo into an amazing one.
Portrait Photography
Perfect for adding that dreamy, romantic glow around your subject. Works especially well for:
- Engagement photos – Create magical moments
- Senior portraits – Add warmth and personality
- Fashion shoots – Enhance mood and style
- Family photos – Make memories feel special
Landscape Photography
Transform ordinary scenery into breathtaking views:
- Sunrise/sunset shots – Enhance existing golden light
- Mountain vistas – Add drama to peaks and valleys
- Beach scenes – Create stunning water reflections
- City skylines – Add urban energy and vibrancy
Event Photography
Bring energy and excitement to special moments:
- Concerts – Enhance stage lighting effects
- Festivals – Add celebration atmosphere
- Parties – Make gatherings feel more festive
- Sports events – Increase action and drama
Commercial Work
Professional applications that demand high-quality results:
- Product advertising – Make items more appealing
- Real estate – Enhance property photos
- Food photography – Add appetizing warm light
- Corporate headshots – Create professional warmth
Tips for Getting the Best Results
Creating professional-looking flare effects requires understanding a few key principles. These tips will help you avoid common mistakes and achieve stunning results every time.
Match Your Light Sources
This is the golden rule of realistic flare. Always make sure your digital flare comes from the same direction as the real light in your photo.
Quick check method:
- Look at the shadows in your photo
- Note where highlights appear naturally
- Place your flare accordingly
- Adjust intensity to match existing light
Start Subtle, Build Gradually
Begin with low intensity settings and slowly increase until you achieve the desired effect. It’s much easier to add more flair than to fix an overdone effect.
Recommended progression:
- Start at 20% intensity
- Increase by 10% increments
- Stop when it looks natural
- Make final micro-adjustments
Consider Color Harmony
Your flare should complement your photo’s colors, not fight against them. Study your image’s color palette before choosing flare tones.
| Photo Colors | Recommended Flare | Why It Works |
|---|---|---|
| Warm browns/oranges | Golden yellow | Creates unity |
| Cool blues/greens | Soft white/blue | Maintains mood |
| Black and white | Warm amber | Adds life without clash |
| Vibrant mixed colors | Neutral white | Doesn’t compete |
Layer Multiple Effects
Don’t rely on flare alone. Combine it with other adjustments for depth and professionalism:
- Vignettes – Draw focus to the center
- Contrast adjustments – Enhance overall drama
- Saturation tweaks – Boost or tone down colors
- Shadow/highlight recovery – Balance exposure
Common Mistakes to Avoid
Learning what not to do is just as important as learning proper techniques. These common errors can instantly make your photos look amateur instead of professional.
Overusing the Effect
The biggest mistake beginners make is adding too much flare. Remember: if viewers notice the effect more than your subject, you’ve gone too far.
Warning signs of overuse:
- Flare dominates the entire image
- The subject becomes hard to see
- Colors look unnatural or oversaturated
- The effect draws attention away from the main focus
Ignoring Light Logic
Real light follows physical laws. Your digital flare should too. Impossible lighting breaks the illusion and makes photos look fake.
Logic check questions:
- Could this light actually exist here?
- Does the direction make sense?
- Is the intensity realistic for the setting?
- Do colors match the environment?
Color Mismatches
Using flare colors that clash with your scene creates visual confusion. A bright orange flare in a cool, moody photo will look completely out of place.
Inconsistent Style
If you’re editing multiple photos for the same project, maintain consistent flare characteristics:
- Similar intensity levels
- Matching color temperatures
- Consistent placement logic
- Same overall mood
Quick consistency tips:
- Save favorite settings as presets
- Take notes on successful combinations
- Review all photos together before finalizing
- Ask for second opinions on style choices
Digital vs In-Camera Lens Flare
Understanding the differences between natural and digital flare helps you choose the right approach for each situation.
Natural Lens Flare Advantages
- Authenticity – Genuinely captured light
- Unique patterns – Each lens creates different effects
- Organic feel – Natural randomness and character
- No editing required – Ready straight from the camera
Natural Lens Flare Disadvantages
- Unpredictable – Hard to control timing and appearance
- Weather dependent – Requires specific conditions
- Equipment sensitive – Different lenses produce different results
- Difficult to repeat – Nearly impossible to recreate exactly
Digital Lens Flare Advantages
- Complete control – Adjust every aspect precisely
- Consistency – Same results every time
- Time efficient – Add effects anytime, anywhere
- Risk-free – Experiment without consequences
Digital Lens Flare Disadvantages
- Learning curve – Requires skill to look natural
- Potential overuse – Easy to get carried away
- Software dependency – Need appropriate tools
- Authenticity concerns – Some purists prefer natural effects
| Aspect | Natural | Digital | Best Choice |
|---|---|---|---|
| Control | Low | High | Digital for precision |
| Authenticity | High | Variable | Natural for purists |
| Consistency | Low | High | Digital for series |
| Learning curve | Low | Medium | Natural for beginners |
| Time investment | High | Low | Digital for efficiency |
Who Can Benefit from This Tool?
This powerful feature serves many different types of creative professionals and hobbyists. Understanding how each group uses it can inspire your own applications.
Professional Photographers
Commercial photographers use flare effects to meet client expectations and create polished, marketable images.
- Wedding photographers add romantic atmosphere to ceremony and reception photos. The tool helps create consistency across hundreds of images from the same event.
- Portrait photographers enhance their subjects’ natural beauty and create signature looks that clients remember and recommend.
Content Creators and Influencers
Social media success often depends on eye-catching visuals that stop scrollers in their tracks.
- Instagram influencers use subtle flare to make their photos more engaging and professional-looking, leading to higher engagement rates.
- YouTube thumbnails benefit from dramatic flare effects that grab attention in crowded video feeds.
Graphic Designers
Digital artists and designers use flare as one element in larger compositions.
- Advertisement designers create compelling product images that drive sales and brand recognition.
- Web designers enhance hero images and backgrounds to improve user experience and visual appeal.
Filmmakers and Video Editors
Still photographers working on film projects need to match video footage that already contains lens flare effects.
- Documentary filmmakers use consistent flare effects across stills and motion footage for seamless storytelling.
- Commercial video producers create promotional materials that maintain visual consistency with filmed content.
Hobbyist Photographers
Everyday photographers want their personal photos to look professional without investing in expensive equipment or extensive training.
- Travel photographers enhance vacation photos to better capture the feeling of amazing experiences.
- Family photographers create beautiful keepsakes that preserve precious memories with artistic flair.
Frequently Asked Questions
- Can I use this tool on any type of photo?
Yes, the tool works on any digital image. However, it works best on photos that already have some light source or bright area to make the effect look natural.
- Will adding flare reduce my image quality?
No, when used properly, digital flare actually enhances image quality by adding professional polish and visual interest without degrading resolution or clarity.
- How do I make flare look realistic instead of fake?
The key is subtlety and logic. Start with low intensity, match your light sources, and ensure the flare direction makes sense with your existing lighting.
- Can I remove or modify flare after adding it?
Most editing software allows you to adjust or remove effects as long as you save your work in an editable format (like PSD files) rather than flattening to JPEG.
- Is this tool suitable for beginners?
Absolutely! The intuitive controls and real-time preview make it easy for anyone to start creating beautiful effects immediately, while advanced features grow with your skills.
- How much does Photeeq cost?
Pricing varies depending on the package and licensing options. Check the official Photeeq website for current pricing and subscription plans.
- Does flare work well with black and white photos?
Yes! Flare can add dramatic contrast and mood to monochrome images, though you’ll typically want to use white or warm amber tones rather than colorful flares.
- Can I create custom flare presets?
Most versions allow you to save your favorite settings as presets, making it easy to apply consistent effects across multiple photos or projects.
Conclusion:
Learning to use lens flare effects effectively opens up endless creative possibilities for your photography.
Whether you’re shooting weddings, landscapes, events, or personal projects, this tool gives you the power to transform ordinary images into extraordinary works of art.
The key to success lies in understanding that flare is just one tool in your creative toolkit.
Use it thoughtfully, match it to your photo’s existing light, and always prioritize your subject over the effect itself.
With practice, you’ll develop an eye for when and how to apply flare for maximum impact.
Remember that the best digital effects are often the ones viewers don’t consciously notice. They simply make the photo feel more magical, more emotional, more engaging.
That’s the true power of well-executed lens flare – it enhances the story you’re telling without becoming the story itself.
Start experimenting with subtle effects and gradually build your confidence.
Study how professional photographers and filmmakers use light in their work. Most importantly, have fun exploring this creative tool and discovering your own unique style.
Your photography journey is about continuous learning and growth.
Adding lens flare effects to your skillset gives you one more way to express your creative vision and connect with your audience through the universal language of beautiful light.
Helpful Resources and Learning:
For those interested in learning more about lens flare and professional photography techniques, here are some trusted resources:
Photography Education:
- PetaPixel
– Photography news, tutorials, and gear reviews
- Digital Photography School – Comprehensive photography education
- CreativeLive – Professional photography courses
- Photography News – Latest Updates in Photography World
Technical Information:
- Cambridge in Colour – In-depth technical photography tutorials
- PhotoPills – Photography planning and education tools


